In-game system guide
Lord of Mysteries SAN (Sanity) Guide
SAN is Lord of Mysteries' sanity meter, running from 0 to 100 and visible next to your health bar. It moves you through eight named states, each with its own buffs and penalties — and at zero, something happens that most MMOs would never dare do to a player's character.
What Is SAN?

SAN is the sanity value, a system built on the novel's idea of whether a Beyonder is losing control. You can see your exact current SAN in real time to the lower right of your health bar. It ranges from 0 to 100.
What Lowers SAN
- Repeatedly fusing Beyonder Substances has a chance to lower SAN.
- Each death has a chance to lower it. The lower your SAN already is, the smaller the drop per death — which makes climbing back out slow and grinding rather than sudden.
- Performing a Requiem (安魂) on a player who is already close to Loss of Control will most likely fail, and a failed Requiem lowers your SAN sharply.
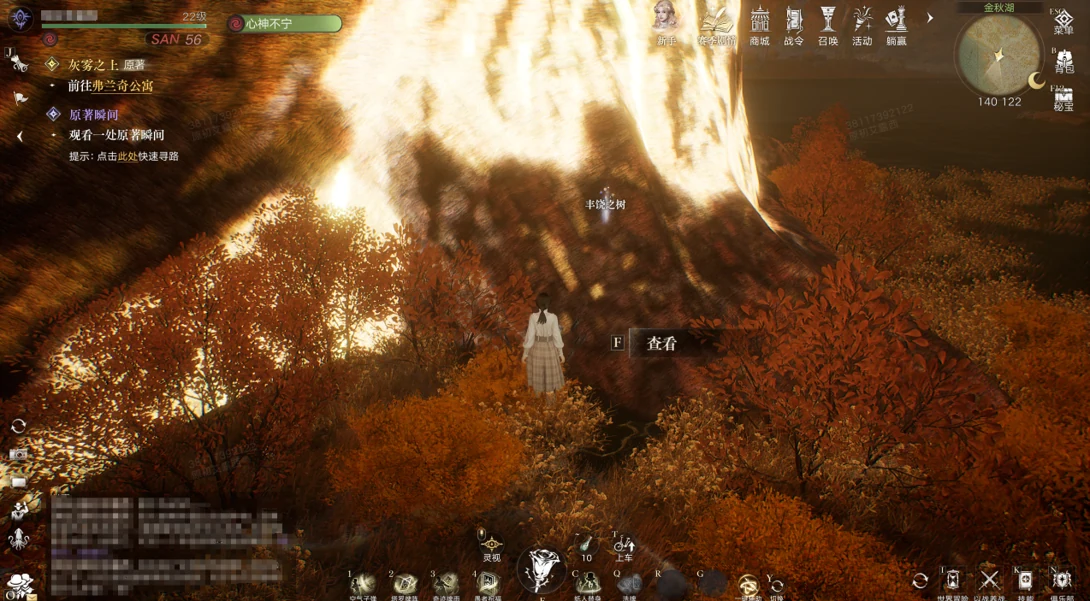

- Travel to Golden Autumn Lake (金秋湖) and interact with the Tree of Abundance (丰饶之树) at coordinates 140, 122. This drops SAN quickly.
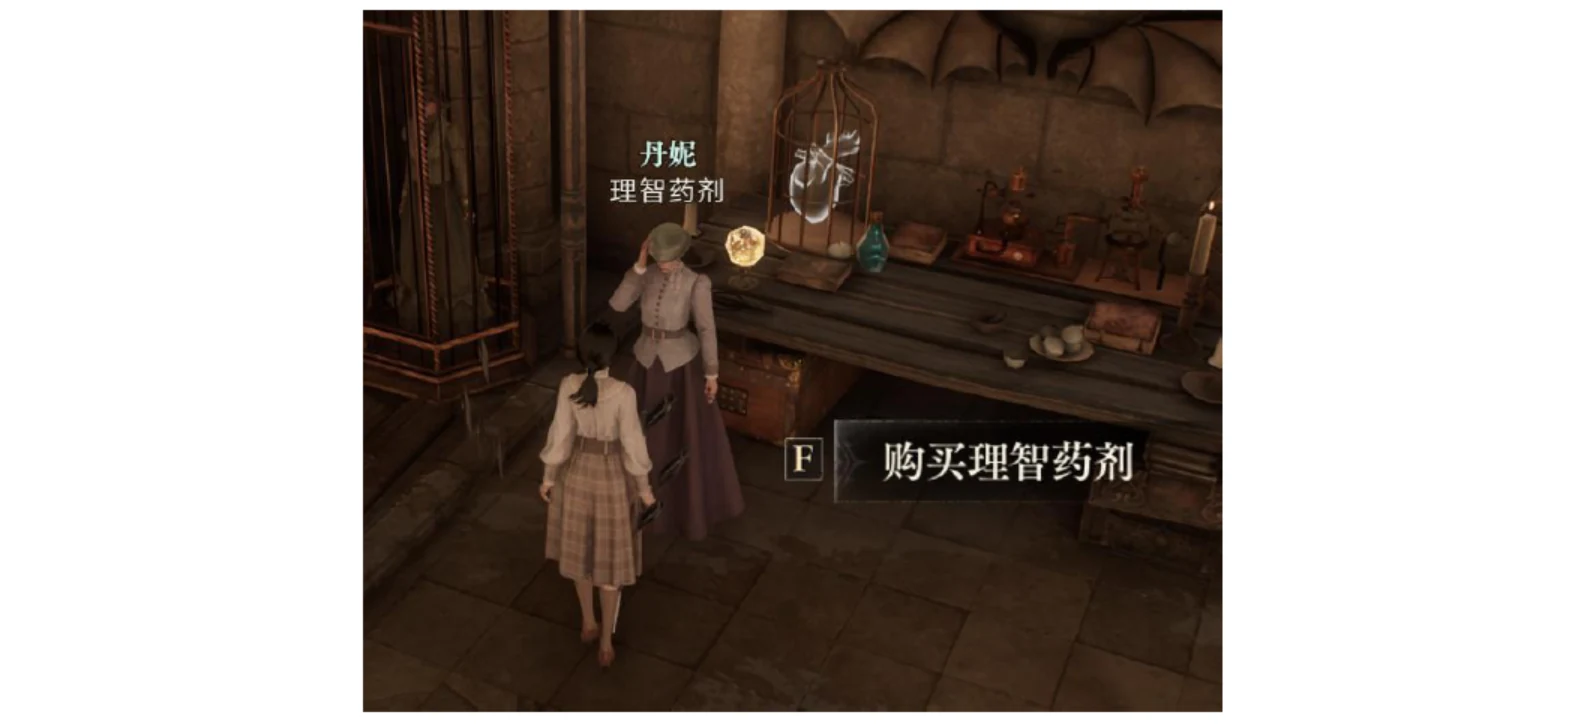
- In Tingen City, enter the Evil Dragon Tavern (恶龙酒吧) at 961, 1300 and find the underground market vendor Danny's Sanity Potions (丹妮·理智药剂) at 129, 73. Buy Alchemical Waste (炼药废液) — limit 2 per week at 30,000 Bound Soli each. Using one lowers SAN by a random amount.
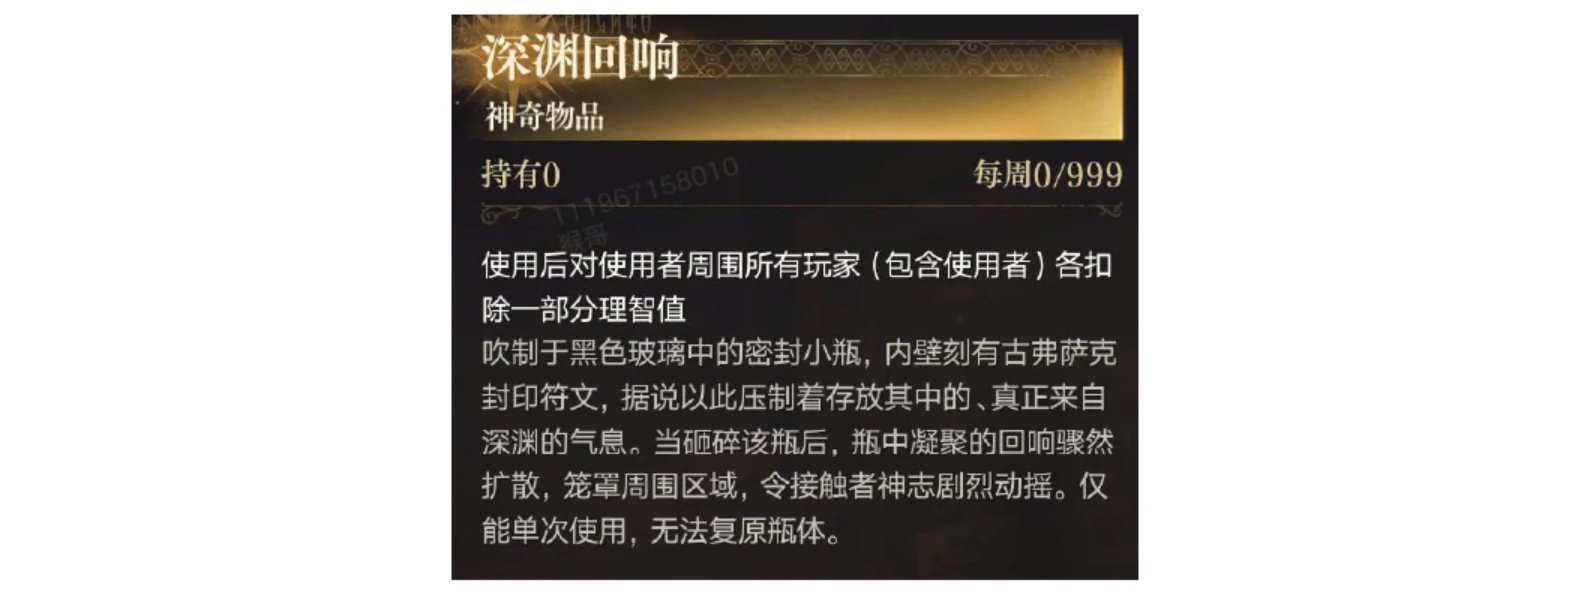
- Under Shop → General Goods → Trade Market, spend a Trade Contract (交易之契, obtained once the social-gift treasure unlocks) on an Abyssal Echo (深渊回响). It lowers SAN for every player in range — including you.
What Raises SAN
- Successfully performing a Requiem on someone else raises your own SAN.
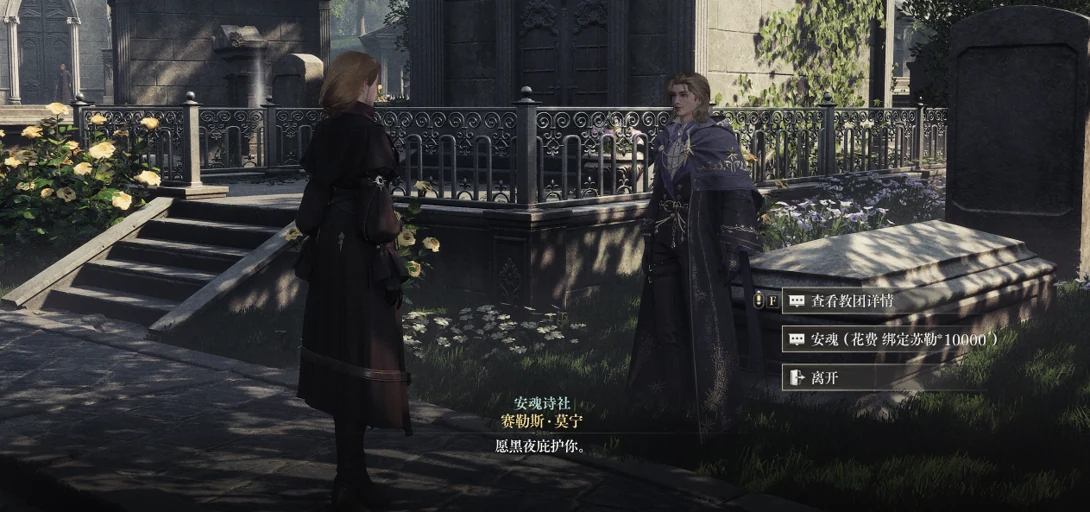
- Pay an NPC of the Requiem Poets' Society for a Requiem. This always succeeds and gives +10 SAN each time. The paid NPC is Cyrus Morning (塞勒斯·莫宁), in Raphael Cemetery (拉斐尔墓园) in Tingen City at 507, 652. He is also the society's guide — join through him.
- Ask a player who has joined the Requiem Poets' Society. This is free: post in world chat, or get soothed by a passing good samaritan. A player's success rate depends on their order rank, their exploration talents, and the target's current SAN — the lower your SAN, the lower their chance. A failed player Requiem can lower the target's SAN further. A success normally gives the target +30 SAN, and a critical success gives more.
- From the same vendor at the Evil Dragon Tavern, buy Dew of the Seven Gods (七神之露) — limit 2 per week at 30,000 Bound Soli each. Using one raises SAN by a random amount.
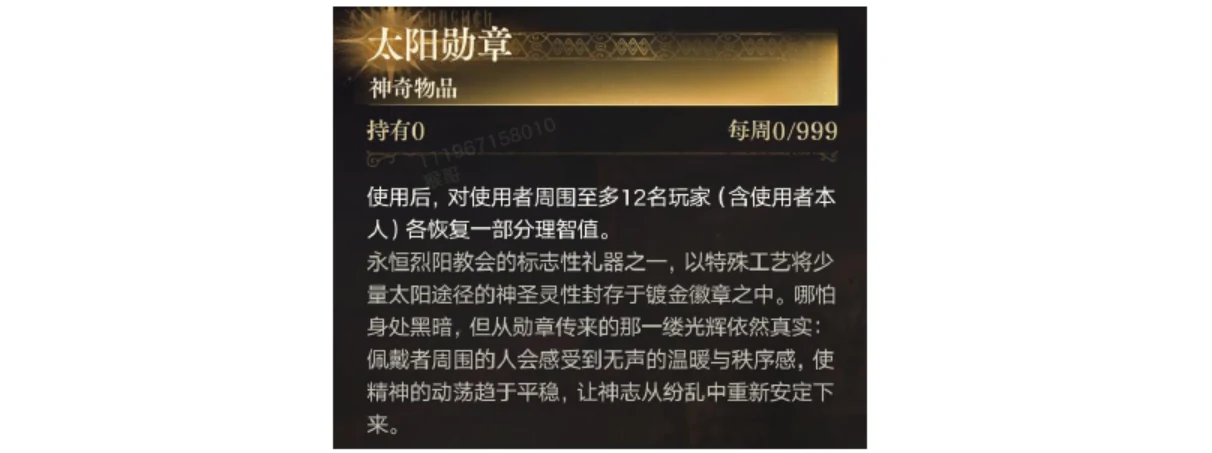
- Under Shop → General Goods → Trade Market, spend a Trade Contract on a Sun Medal (太阳勋章). It raises SAN for up to 12 nearby players, including you.
The Eight SAN States
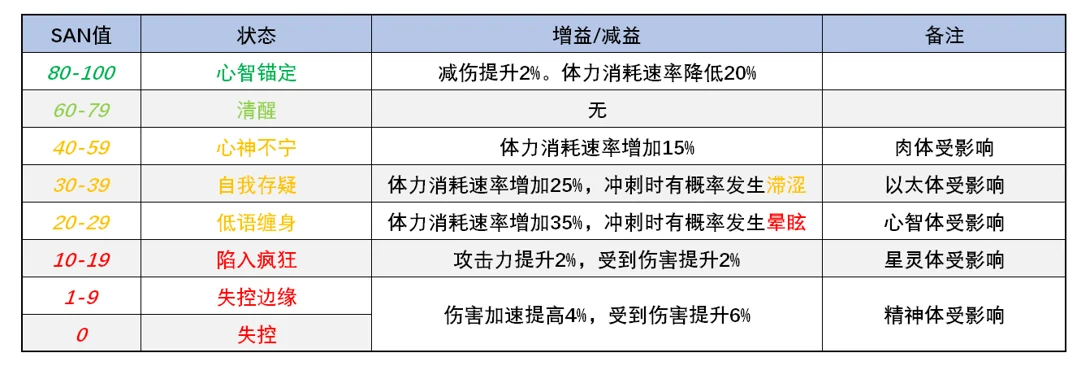
SAN sits in one of eight bands, and each band applies its own buffs or penalties. The English version of the table above:
| SAN | State | Buff / penalty | Notes |
|---|---|---|---|
| 80–100 | Mind Anchored心智锚定 | +2% damage reduction. Stamina drain rate −20%. | — |
| 60–79 | Lucid清醒 | None. | — |
| 40–59 | Uneasy心神不宁 | Stamina drain rate +15%. | Physical body affected |
| 30–39 | Self-Doubt自我存疑 | Stamina drain rate +25%. Dashing can trigger Sluggishness. | Ethereal body affected |
| 20–29 | Beset by Whispers低语缠身 | Stamina drain rate +35%. Dashing can trigger Stun. | Mental body affected |
| 10–19 | Descent into Madness陷入疯狂 | Attack +2%, damage taken +2%. | Astral body affected |
| 1–9 | Brink of Loss of Control失控边缘 | Damage acceleration (伤害加速) +4%, damage taken +6%. | Spirit body affected |
| 0 | Loss of Control失控 |
Mind Anchored (心智锚定)
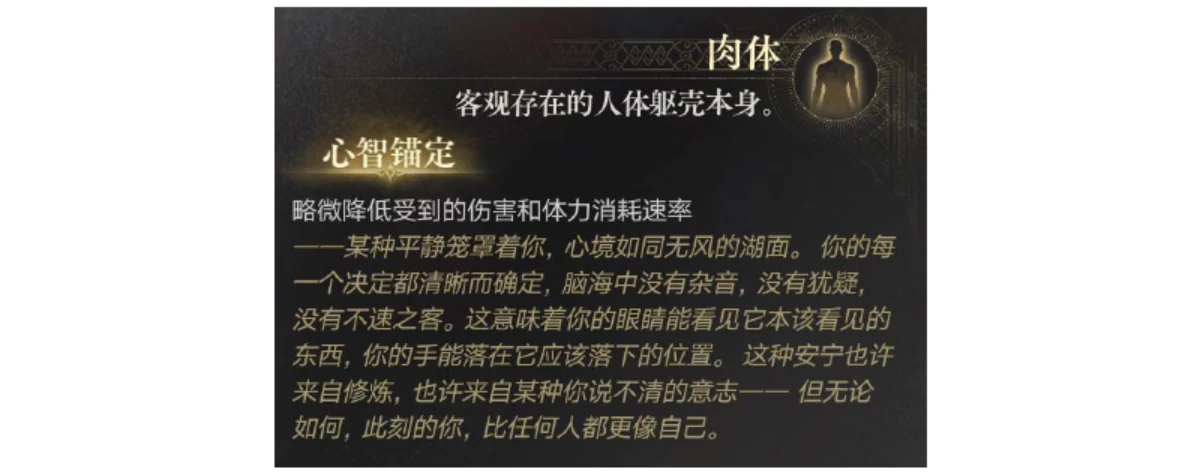
SAN 80 and above. A good state, granting damage reduction and lower stamina drain. You cannot receive a Requiem while in it.
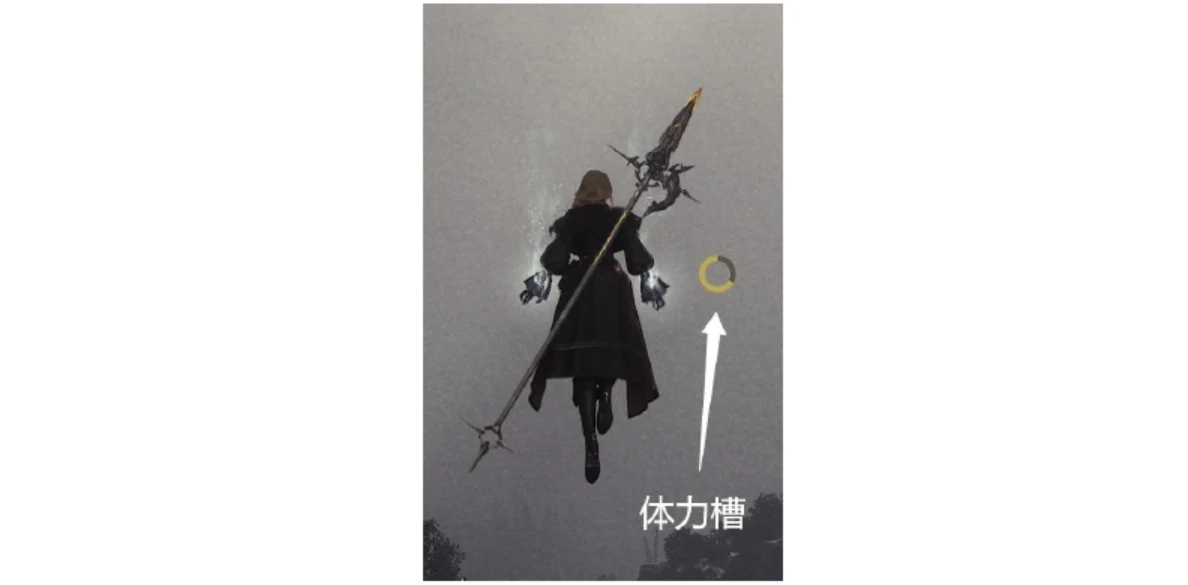
Stamina is consumed by sprinting, dodging, Spirituality Leap (灵性腾跃, flight) and Spirituality Dash (灵性冲刺, the mid-air forward dash) — think of it as an energy bar. It refills quickly whenever your character has footing, but it does not recover while you are floating on Spirituality in mid-air.
Because world exploration leans on leaping, gliding and dashing, keep yourself in Mind Anchored before starting exploration content: lower stamina drain means you jump higher and stay airborne longer.
Lucid (清醒)
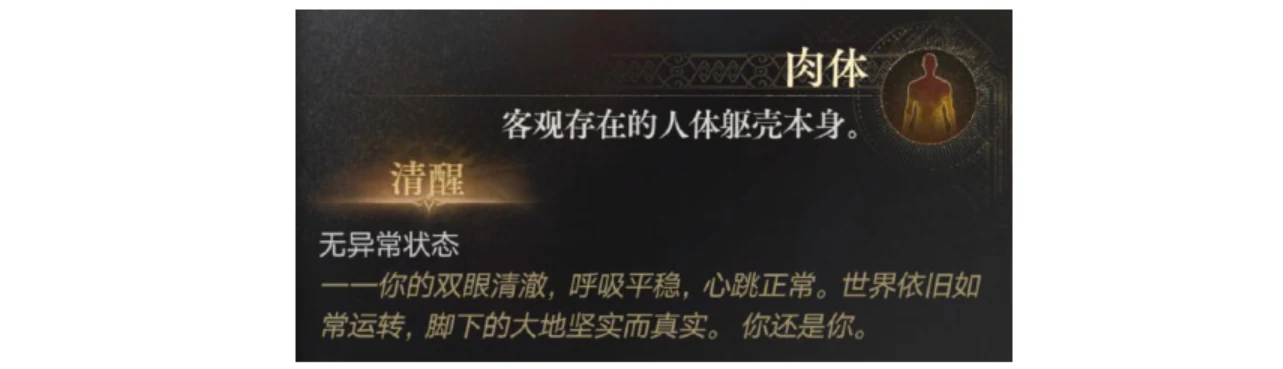
No buffs and no penalties — a healthy state. Unlike Mind Anchored, you can receive a Requiem here, which pushes you up into Mind Anchored.
Uneasy (心神不宁)
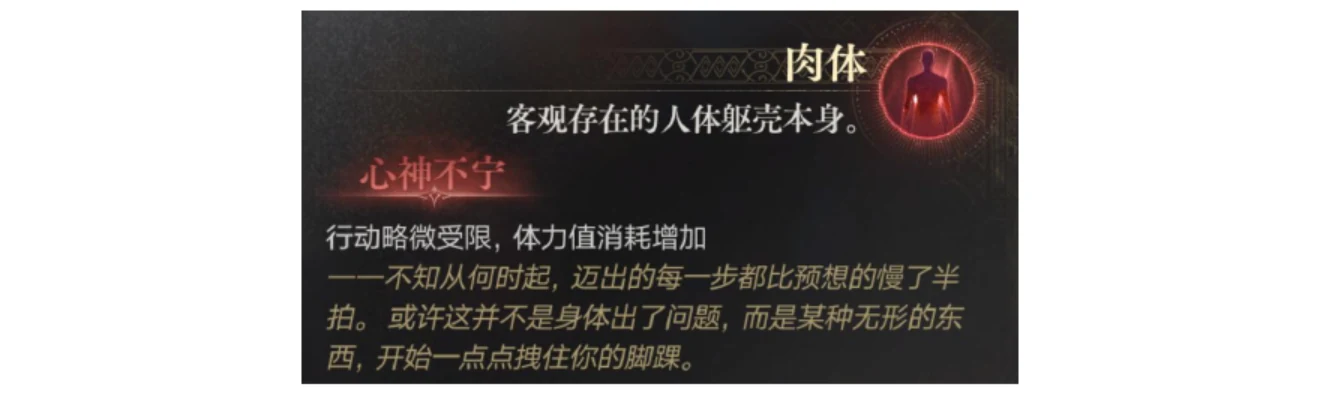
Penalties begin. Stamina drain rises, so sprinting and dodging cost more — from a full bar you get fewer consecutive dodges than before.
Self-Doubt (自我存疑)
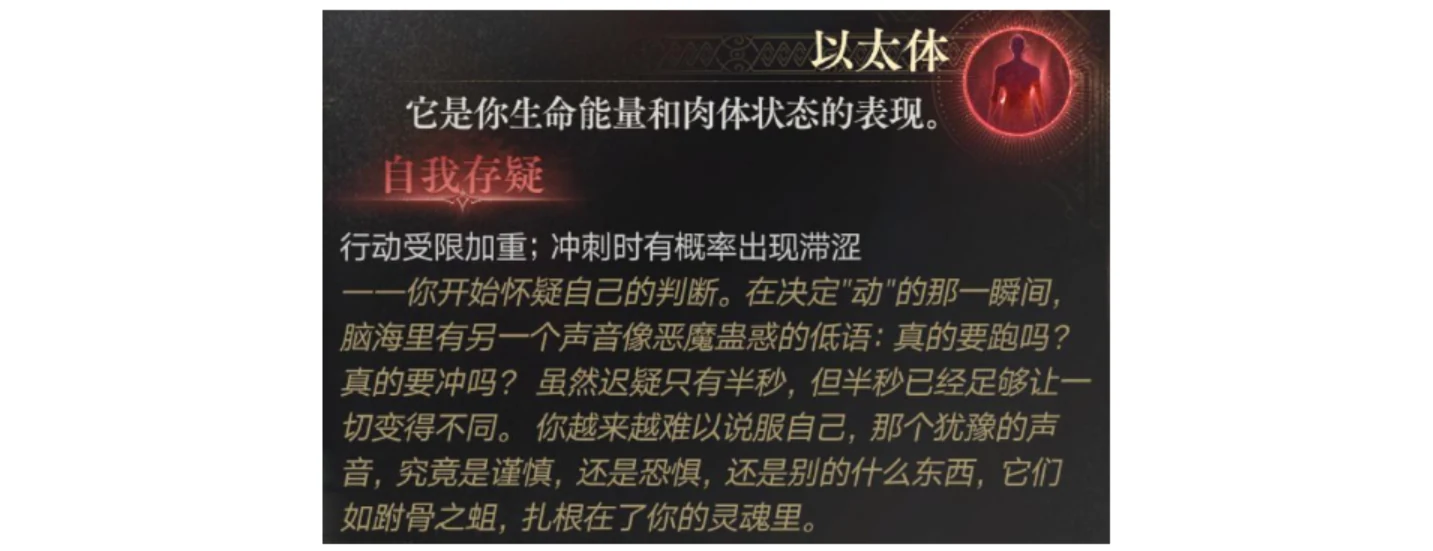
Your ethereal body starts to be affected. Stamina drain rises further, and sprinting or dodging can come out sluggish or get interrupted.
Beset by Whispers (低语缠身)
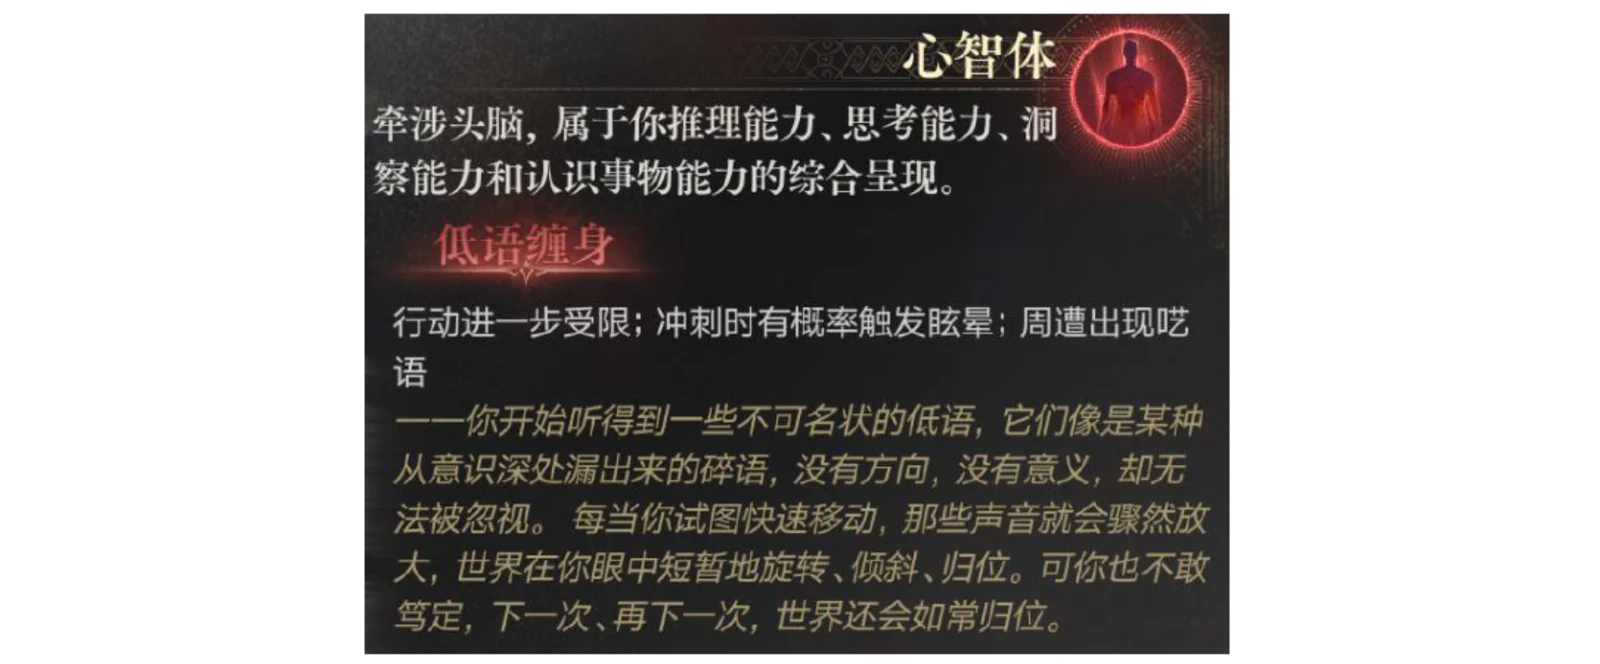
Your mental body starts to be affected. Stamina drain rises again, and sprinting or dodging can stun you — leaving you standing still and out of control.
Descent into Madness (陷入疯狂)
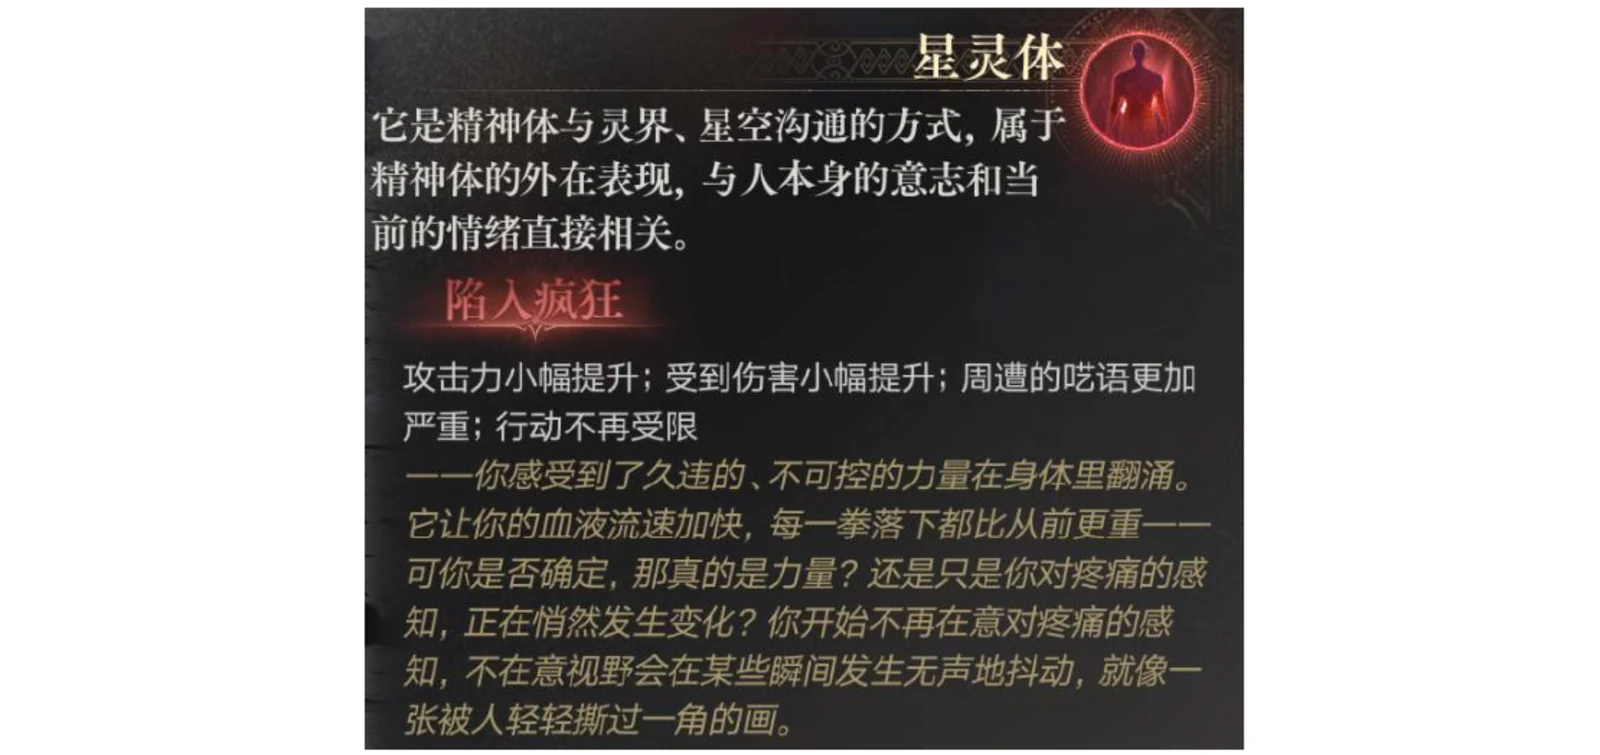
Your astral body starts to be affected and strange symbols begin welling up across the interface. Oddly, apart from still burning stamina fast, the penalties disappear — no more stun on dash. Your attack even goes up, though so does the damage you take. The frenzy is setting in.
Brink of Loss of Control (失控边缘)
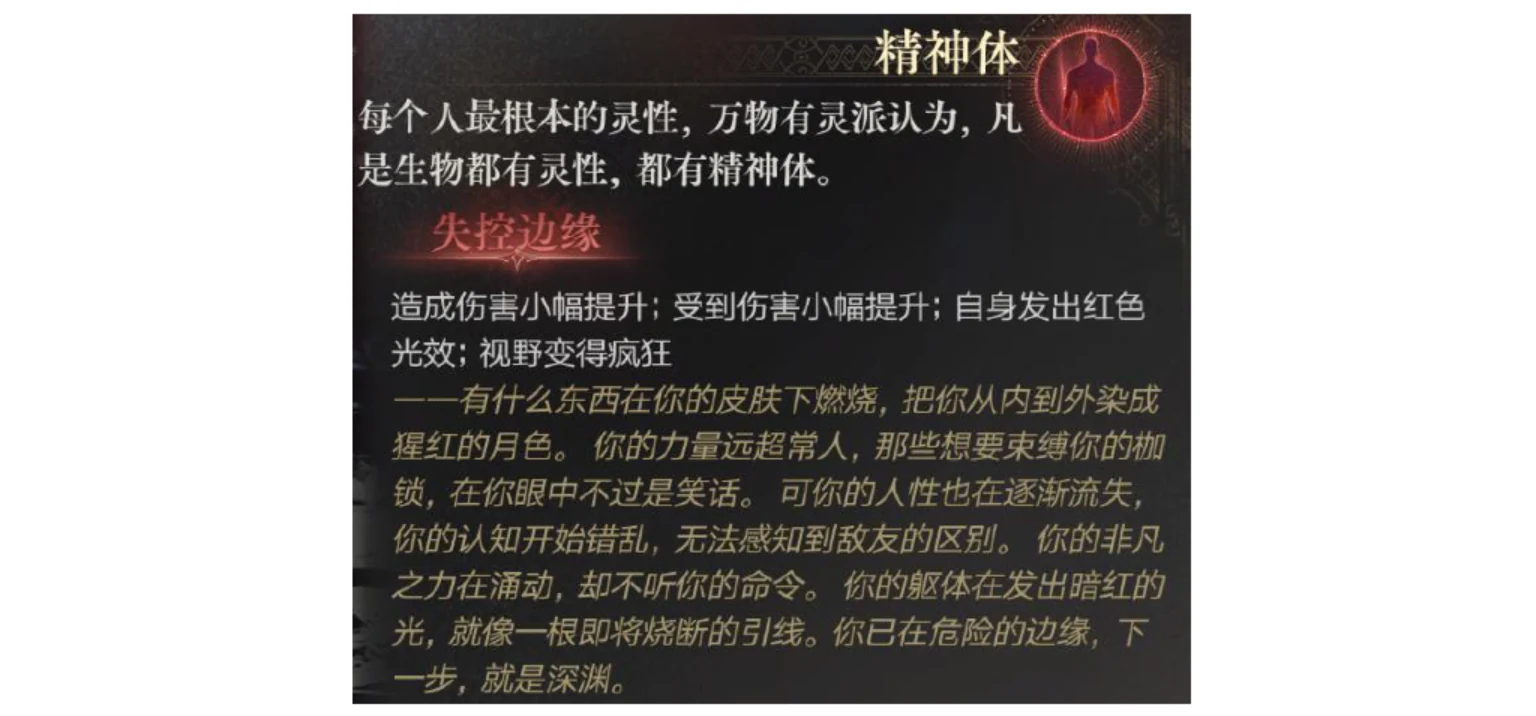
Finally your spirit body is affected and the frenzy deepens, like turning into a berserker — but your damage rises further still. This state can genuinely be used offensively, if you trust your own execution enough.
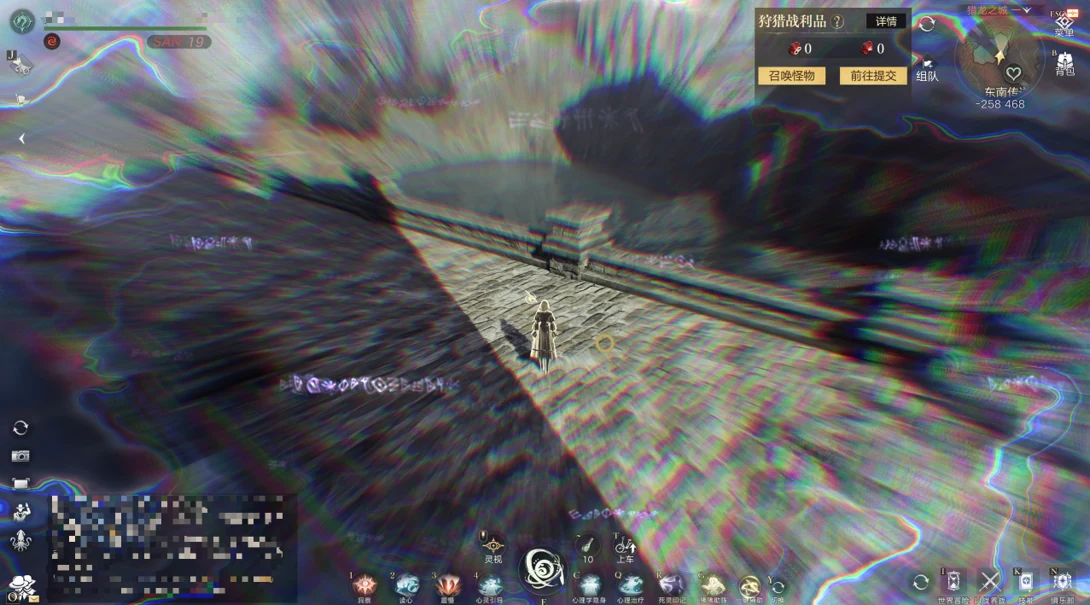
Beyond the strange text, the edges of your vision take on an odd blurred radiance.
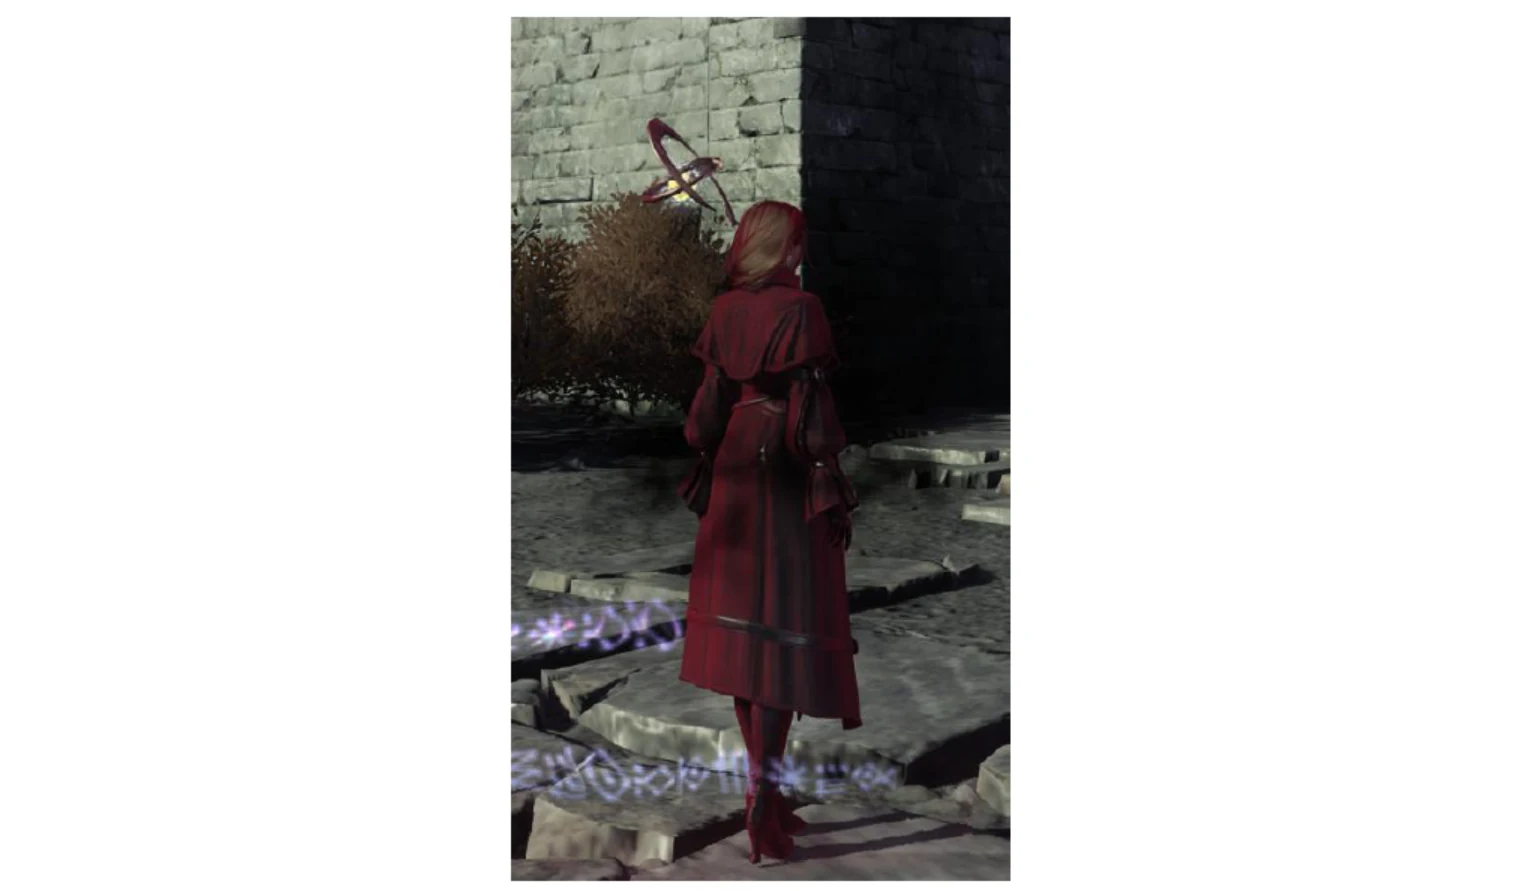
Your silhouette begins to glow red, black smoke coiling around you.
Loss of Control (失控)
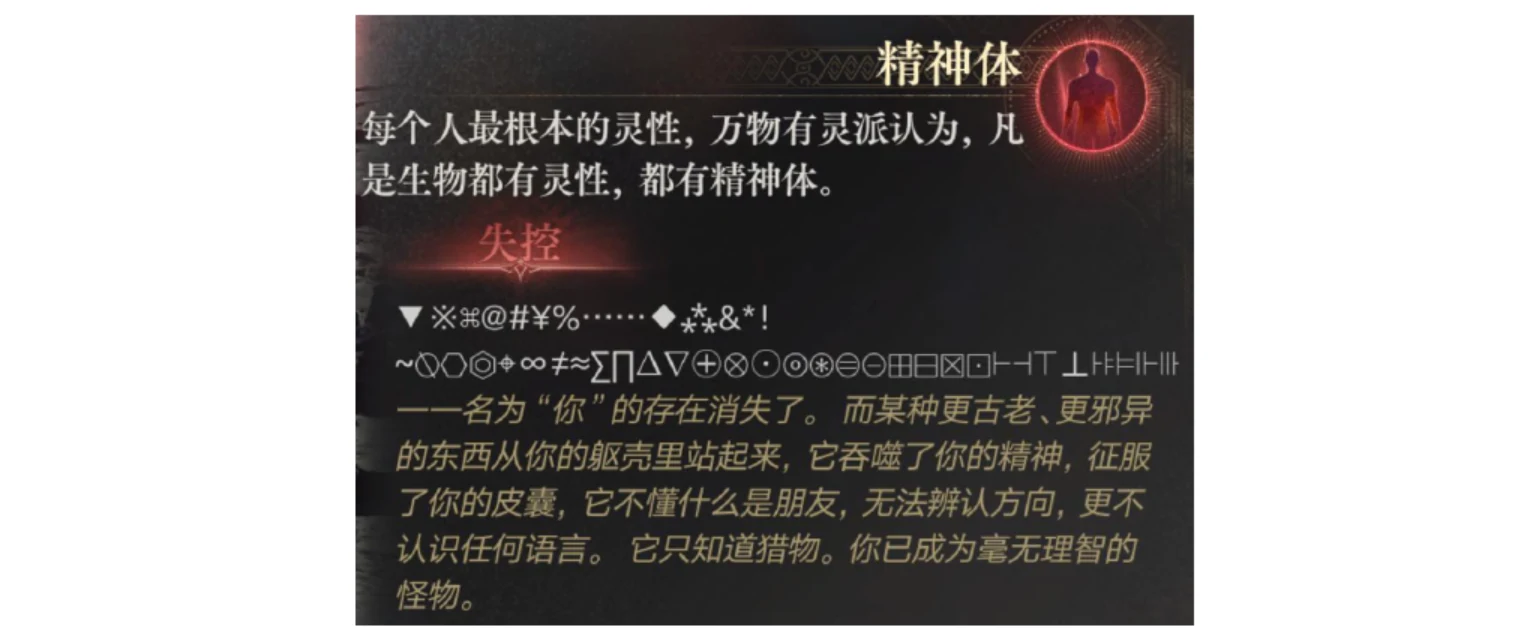
You have lost control completely. The penalties match the Brink state — and as long as you are still on the battlefield, the only addition is a countdown to true Loss of Control. Nothing worse happens there.
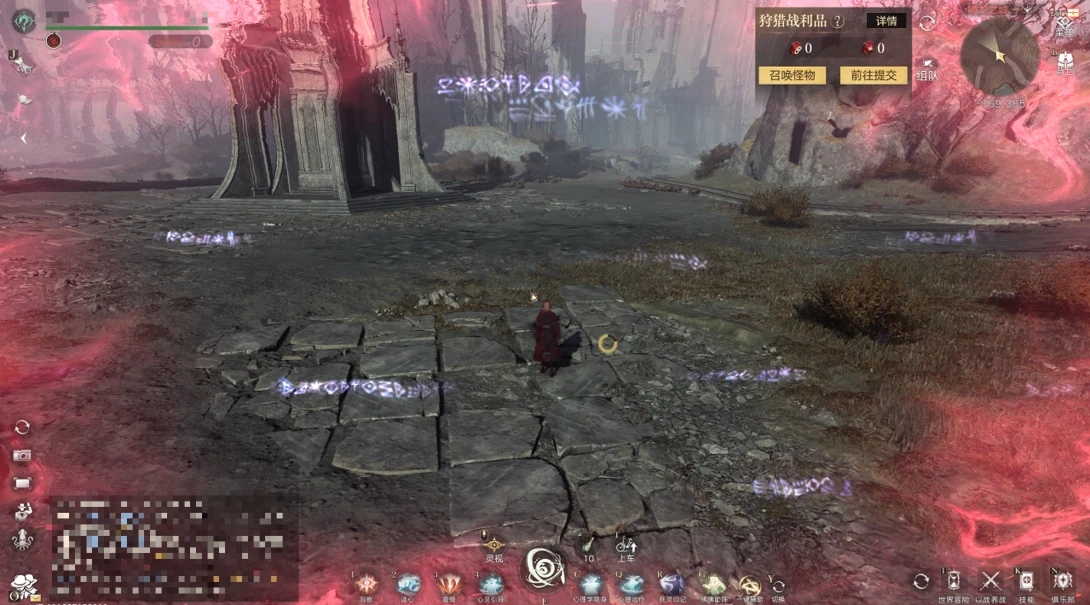
Your whole view floods with red light. This is Loss of Control.

You have five minutes to find redemption through a Requiem and see whether anyone can pull you back. As long as you stay on the battlefield, nothing happens when the timer runs out.
What Happens at Zero: the Author's Account
The following is the guide author's first-person account of letting the timer run out.
Thinking it was just a scare, I teleported back to Tingen City. When the loading screen ended, a cutscene told me: you have lost control.
I was returned to the character login screen. My character was gone.
I froze. Would they really go that far? I had never dealt with a game that did this, and my mind went blank.
Ten seconds passed, or maybe thirty — the rate at which time was passing had stopped being something I could perceive. Then another cutscene played.
3, 2, 1. Mr. Fool is watching you.
When it finished, my character was back. She was back! Praise the Fool.
I logged in again and found myself at the forest camp where I had first entered this world, with SAN restored to 30. I make no promises about not losing control again — I know Mr. Fool will come for me.
Before You Use These Numbers
Everything above reflects the game as observed in launch week of China Open Beta, when the source guide was published on August 21, 2026. Band thresholds, percentages, item prices, weekly purchase limits and NPC coordinates are all subject to patches. The account of reaching zero is one player's experience on one character, not a documented rule about what the game does in every case.